")

Winter Layering 101: How to Dress for Cold Adventures
Stay Comfortable Throughout the Seasons
by Hailey Hirst
Whether it’s in the throes of midwinter, late autumn, or the bright but still-cold days of early spring, knowing how to dress for winter with strategic layering can make it possible to enjoy the outdoors year round. There’s no such thing as bad weather if you’re dressed properly!
You probably already a little bit about dressing in layers. But what does that mean exactly? How many layers? What kind? How do we know what to add, and when?
Even if you’re experienced in winter hiking and snowshoeing, or other snow sports, cold and wet conditions can always feel intimidating. So we polled our Facebook community and came up with our best winter layering tips and gear recommendations to help you stay warm and comfortable for cold weather adventures of any kind.
First, learn about the ways the body loses heat
You might be familiar with the claim that we lose most of our body heat through our heads—but it turns out, this isn’t really true. It might feel like more when the rest of the body is clothed, but at most, humans lose 10% of their body heat from the head by surface area.
What’s more valuable than this outdated idea, is knowing a little bit about thermoregulation and how the body loses and retains heat. Understanding the mechanisms that your body uses, from sweating to vasodilation and constriction, can be so useful.
It’s worth reading more, but a couple highlights:
- Plan for sweat. Evaporative cooling by way of sweat is the human body’s main way of decreasing body temperature. You can’t stop this from happening all together but you can prevent excess sweating and letting moisture build up!
- Keep your extremities warm. The way that your blood vessels expand and constrict changes how much blood goes to the hands, feet, and limbs. When you start getting too cold, the extremities will be the first thing to lose heat (and full function!) so be prepared with enough gear to keep them warm. Add hand and boot warmers if you need to!
Prevent sweat and wetness buildup
This is vital. Once your gear is wet with sweat, it’s way harder to regulate your temperature in cold conditions, and your risk of getting hypothermia is significantly higher with any wetness involved. There are a few things you can do to keep moisture at bay:
- Wear wicking materials. Merino wool is our favorite natural fiber to wear for base layers and socks, but lots of technical fabrics also do a good job wicking moisture away from the skin.
- Start one layer cooler than you feel comfortable. If you’re toasty before you get moving, you’ll be sweaty and damp soon. As they say, “Be bold, start cold” and then layer up as soon as you stop for a break, before you cool down and need to recover.
- Adjust as needed instead of powering through. It’s tempting to power through when you start feeling hot after you’ve found a good rhythm, but it’s so worth it to take a short break to keep yourself at the right temperature. Trust us–once your base layers or boots are sodden with sweat, they won’t dry well while you’re still out there wearing them, and it’ll be harder to stay comfortable after that.
Know that zippers (and vents!) are your best friend
Things that can zip up and down (or open with armpit vents, for example!) give you more in-between levels to adjust for warmth and venting.
Where the main three layers give you that many options, don’t discount the power of being able to unzip your midlayer fleece or hike with your shell unzipped but still on. You’ll go from base, to mid unzipped, mid zipped, shell unzipped, shell zipped…) and zippers are so fast to adjust while on the move.
Using the vents that are often built into outer shells also helps to prevent moisture accumulation so you stay dry!
Make sure your pack can hold all your layers
The ten essentials are pretty small to pack, but whatever day pack you’re carrying with you should also have the capacity to hold all the layers you might possibly remove. Make sure you’ve got enough room before you depart!
It’s also worth packing strategically so any layer or accessory you need to access doesn’t end up buried beneath your first aid kit or packed lunch.

Snowshoeing with poles and a pack — photo by Taylor Brandon via Unsplash
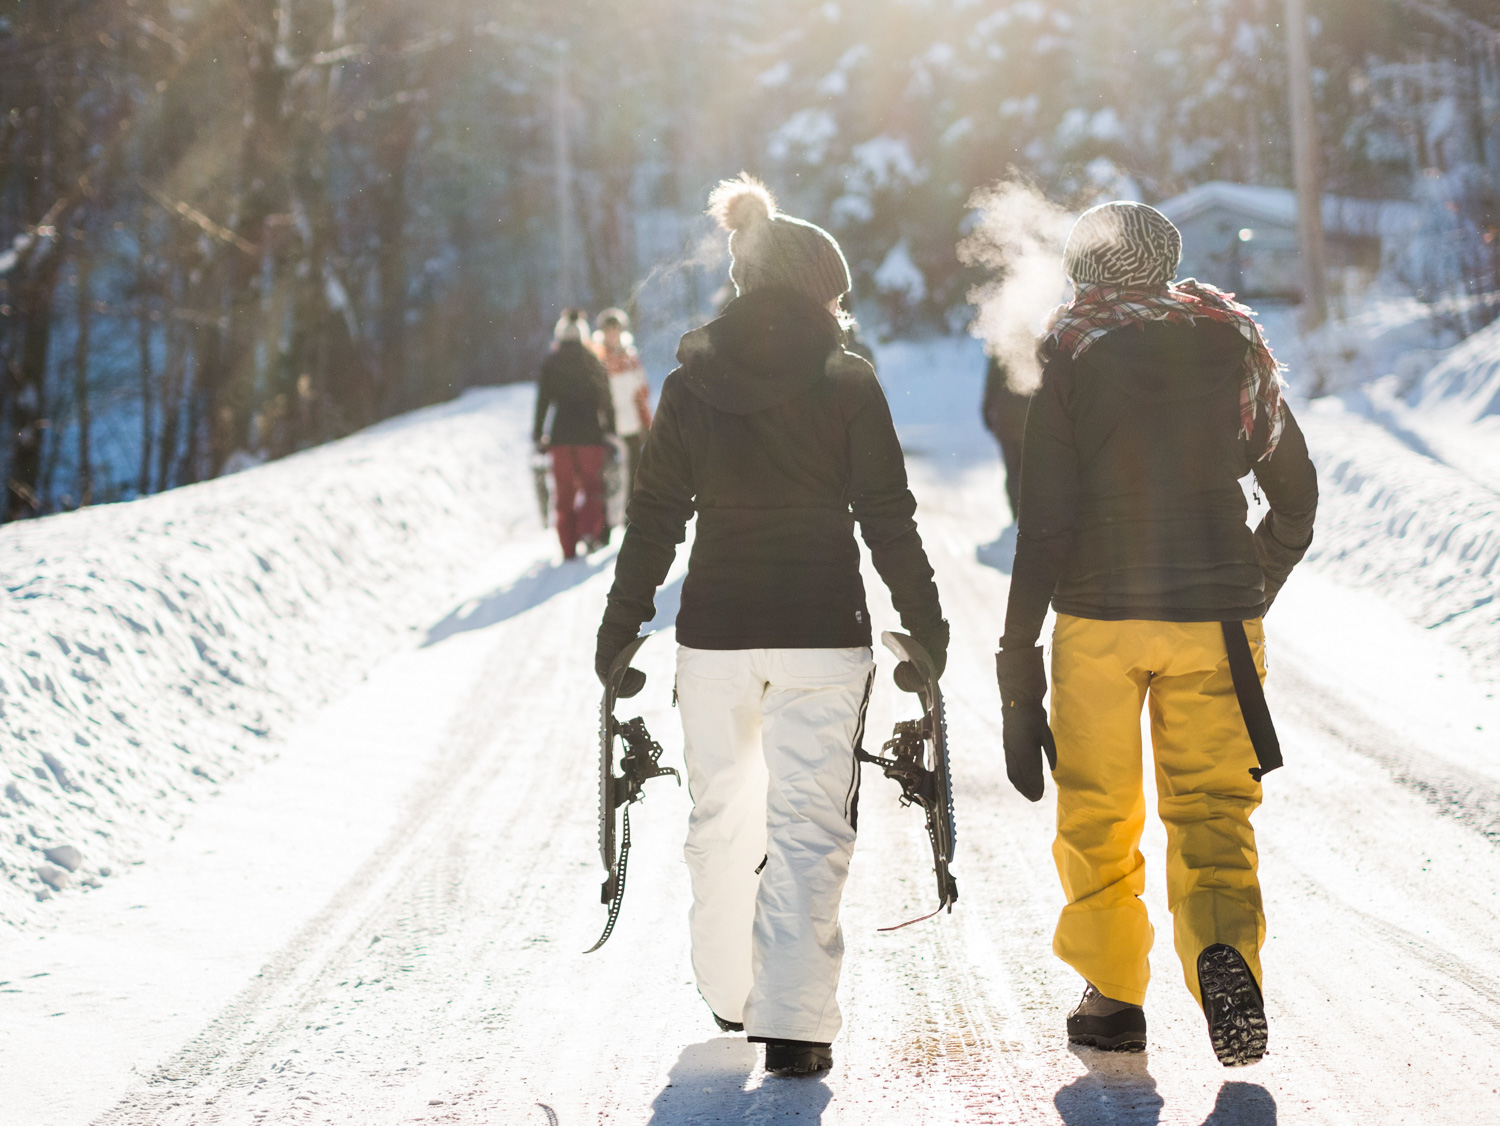
Layer up!
Your own layers should reflect the weather conditions you expect to encounter and the activity you’ll be doing—whether or not you need waterproofing, ability for certain movements, etc, but a rundown on what the three main layers could look like…
-
Base layers
-
- Tank or camisole, in case you need to strip all the way to the basics.
- Make sure it wicks moisture, like this one!
- Base layer set, made of merino wool or other wicking fabric.
- We love Minus33 for quality and affordability (and the wool is milled in New Hampshire!)
- These lightweight Ottomatic threads 2nd generation layers are also super versatile and come in sizes XS-6X
- Tank or camisole, in case you need to strip all the way to the basics.
-
Mid layers
-
- Half- or full-zip sweater made of fleece or thicker merino really add warmth over your base layers.
- Midlayer bottoms are something you may find you don’t usually need, but adding a looser fit over base layers can be nice if you’re skiing in wind chill.
- REI’s Teton Pants are a nice basic option

Totally bundled up to ski on a very cold day! Down skirt and all — photo by Asa Lesage via Unsplash
-
Outer layers
-
- Puffy coat or waterproof jacket
- The Fjallraven Expedition Hoodie is extremely warm for the coldest adventures and the Expedition X-Latt is great for more daily wear and layering.
- We love a good waterproof option that also packs some heat, like this Cotopaxi Insulated Jacket
- Pants for your chosen activity, whether that’s snow pants or a thin waterproof shell that will keep you dry.
- Soft shell snow pants like these Obermeyer Jinks can be worn for most snowsports
- Our team also swears by these waterproof Duer All Weather Pants
- A down skirt can help keep your butt and thighs warm on extra cold days! Just keep an eye on the cut–you want longer and not “pencil” shape so you can move freely.
- This North Face Insulated Skirt has a zipper for extra movement and sitting!
- Puffy coat or waterproof jacket
-
Extras and extremities
-
- Wool socks and another vote for Minus33 NH merino
- Gloves or mittens
- A hat that keeps you warm but not sweaty, like Skida’s Nordic Hat
- Face and neck coverings
Other random tips worth mentioning:
- Stay hydrated and bring snacks. The body uses more calories to stay warm and adequate hydration is also important for thermoregulation. Alcohol and caffeine can also affect vasodilation and how well your body maintains temperature.
- Bring an extra base layer in case yours gets sweaty!
Editor’s Note: Some of the product links included in this article are affiliate links, which help to cover the costs of maintaining She Explores. Thanks for your support!
- About the Author
- Latest Posts

Hailey Hirst is She Explores‘ digital content editor and brand designer. Her leash-trained tuxedo cat and young daughter join her on the trails close to home in British Columbia and Idaho.

Be the first to comment