")

How to Get Started Backcountry Skiing
How to Get Started Backcountry Skiing
by Tori Duhaime
Sponsored by Atomic
Chairlifts and freshly groomed runs are a blast, but sometimes the quiet and grandeur of the backcountry beckons. This season, there are likely to be more people ski touring and splitboarding than ever in an effort to avoid crowds.
Backcountry skiing or ski touring, like many novelty outdoor sports, can feel intimidating to get into and can be rather expensive. It also comes with some higher risks than the resort experience without ski patrol involved—but that doesn’t mean there aren’t ways to test the waters (or should we say, powder!) safely and more cost-effectively.
If you’re venturing out of bounds for your first time, we want to help you understand some basics of the backcountry:
Learn the language of snow & get trained on safety
Take an avalanche course
Level 1 avalanche courses through AIARE can be found and attended by local programs in most ski-accessible states. These courses do tend to be expensive (running around $300) and typically happen over the course of three days, but they are an absolute necessity for your safety and others enjoying the backcountry with you, and shouldn’t be overlooked.
Find other courses at avalanche.org by state. Keep an eye out for scholarship programs and if your local avalanche center hosts “Know Before You Go” mini-seminars, these are great introductions to this information, although not a substitute for a full course.
Get familiar with your regional climate
The local climate you’re in and the way weather patterns play out over time determines the stability of the snow and before going into the backcountry, you absolutely need to get familiar with local conditions, how they can change, and what to be wary of. You’ll want to familiarize yourself with your local avalanche forecast team.
Without anybody but you and your trusted backcountry partner looking out for one another, it’s important you know what to look for to make the most educated and safe choices out there—which sometimes means just not going until conditions improve.
Get comfortable reading weather reports, avalanche reports, considering which direction the slope faces, the degree of the slope, and digging snow pits to gather information.


Learn how to use your gear & practice every year
Your avalanche course will cover how to use backcountry gear properly, but the real key is to keep practicing after the course—every year—to be sure you remember.
Try this: In a safe, low-no angle area, put a beacon and a can of beer (or your beverage of choice) in a backpack and have your backcountry buddy hide it somewhere. Turn your beacon to search mode and practice your searching skills with a reward waiting for you.
Gear up
There are particular pieces of gear that are required for the backcountry, and others that can work well for both backcountry and resort skiing. Read gear reviews and ask experts at your local specialized ski shop regarding your needs to find what might work best for you and your body.
Cost can be a barrier to entry, so remember that it’s okay to slowly acquire all your gear over time. Your local specialized ski shop might rent backcountry set ups or you may be able to find a friend who will lend you their gear (and join you as well). Be sure to check out local ski swaps and end-of-season sales for the best deals on gear.
Skis and skins
Depending on your personal needs and skiing level, lots of different types of skis can work in the backcountry. However, you’ll be better off with something lightweight and directional. Atomic’s Backland series has a range of specs you can choose from to find the perfect ski for your needs.
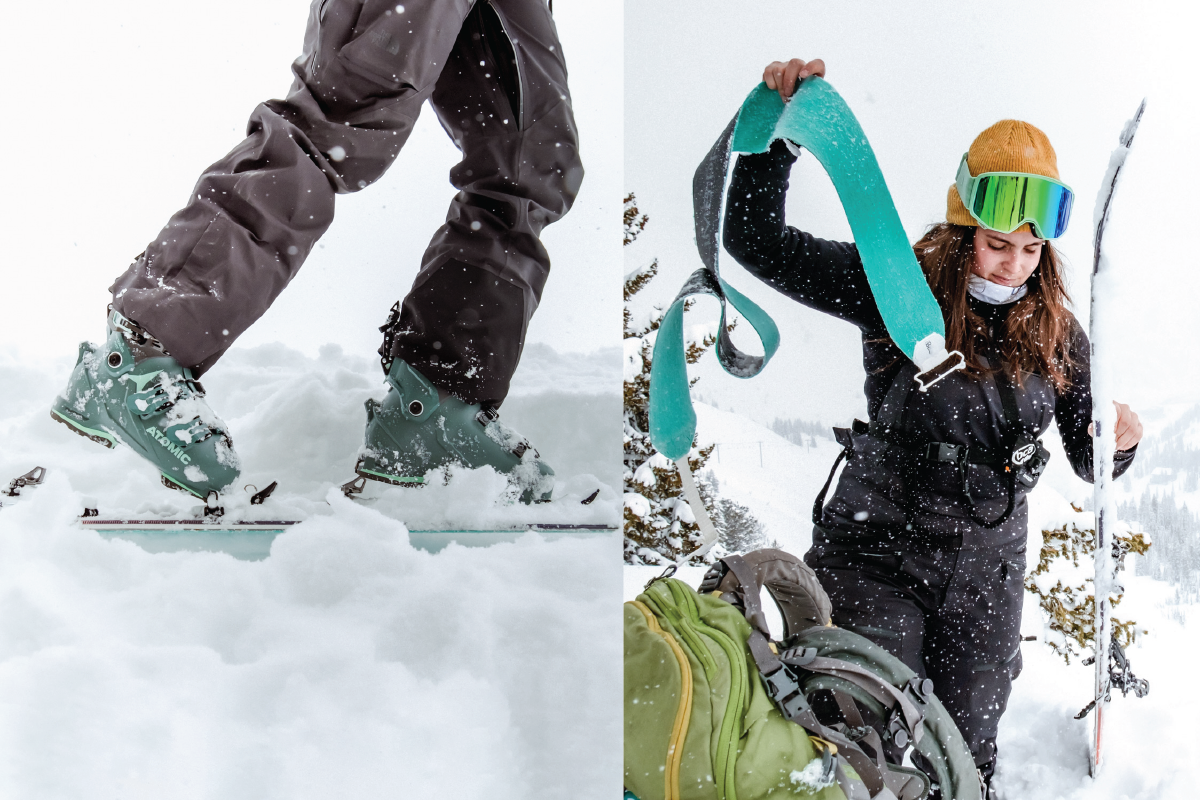
Skins are fabric strips that stick to the bottom of your skis and make it possible for you to move uphill in the snow, then are removed and stowed in your pack for the fun part, downhill. We are a big fan of Pomoca and can also recommend Black Diamond skins.


Ski boots and bindings
Backcountry boots and bindings are special in that you can release your heel from the ski so it’s possible to move uphill, in a motion like nordic skiing, and also function as downhill skis with the right bindings.
Atomic’s Backland Touring bindings are lightweight and have a versatile level of heel steps, making it comfortable to climb different degrees of slopes. Your boots have to be compatible with the bindings, these days that typically means having toe pins for the bindings to attach to.
The Atomic Hawx Prime XTD 115 W Tech GW (say that fast 5 times) are a super supportive and comfortable boot for both the up and down, and these can also work with alpine bindings that are Grip Walk compatible, making them a boot you can use in and out of bounds.
Your avalanche gear (beacon, shovel, and probe)
A beacon is a transceiver, worn close to the body, that allows you to be found if buried in an avalanche and is used to search for others should they be buried. This is probably the most important piece of gear to ensure is in good condition, as it can save your life when used properly. It also requires being accompanied by a shovel and probe.
The probe is a collapsible stick that is used to find a buried person should it be needed once the beacon has brought you to the general area of rescue. The shovel is used to uncover the person, always shoveling snow downhill below the burial.
BCA, Ortovox, or Mammut have kits that include all three things. Don’t forget a functional backpack to keep all of these stored in and easily accessible, should they be needed.
Clothing
Dress in breathable layers, as you might be surprised how much you sweat on the uphill. Top that with quality ski pants and a waterproof jacket.
While you won’t need to wear it on the trek, a helmet is a vital part of safety, as are goggles or sunglasses to protect your eyes like Atomic’s Four Q Stereo. Wear sunscreen, bring a ballcap, and most importantly, make sure you have socks that work for your feet that are not cotton.


Find community
The most important part of learning anything new is knowing your own limits and exploring with a strong support system. If you’re seeking a backcountry buddy, look for local facebook groups or online forums, or look to your friends who might already have more experience and can support you through this new learning curve.
The best backcountry partners are people that you communicate effectively with, and it’s important that you both have proper avalanche training. You’ll experience all the joys and frustrations of something new, so having people you can trust will make a world of a difference.
Figure out where to go
Check out local snow forecasts and avalanche centers before deciding where to go. Always listen to closures and restrictions so that avalanche control can be done for the safety of all. There are lots of ski touring guide books you can find for your region. Find some here.
Look for inbound uphill access for starters. Some resorts allow uphill traffic in certain areas depending on conditions and time of the season. This is a great way to get the hang of skinning uphill with the opportunity to ski down some maintained slopes with a minimized avalanche risk. Check in with your local resorts to see if they allow uphill traffic.


Keep realistic expectations & enjoy yourself
So you’ve done your research, taken your Level 1 course, and you found a safe line to ski. Here is how your day might look:
You’ll want to be sure you fuel your body appropriately to your needs. On the drive to your location, talk about the conditions and what to look out for with your group. Verbalizing what the risks are based on the current snow conditions is essential to your group’s safety. When you arrive, turn on your beacon and test everybody’s beacon’s signals by turning one to search mode and ensure it can register all others. Don’t forget to turn it back to send after this. Get your skins placed under your skis, set those bindings to walk mode, and start making your way up the skin track. You’ll break a sweat fast so be sure you have easily transitionable layers to keep you comfortable.
Once you reach the place where you can safely ski down, you’ll make your transition—including removing the skins from your skis and packing them up, transitioning your bindings to ski mode, putting on those warmer layers, goggles, and helmet. Then, you’ll ski down, ideally one person at a time per section to ensure there are always eyes on whoever is skiing. When you’ve stopped to watch your friends ski down, always be sure you’re not standing in a runout zone, should an avalanche occur so you don’t risk being buried. Once you get back to the parking lot safely, remove all necessary gear, turn off your beacon and store in a safe place, and enjoy some apres of your choice.


Throughout the day, keep realistic expectations of yourself and those you are skiing with. It’s more than okay to say you’re not feeling comfortable with the group’s choices and those feelings should always be respected by the group. It’s always better to turn around than risk a burial. You should always be accompanied by somebody else so make sure you are adventuring with people who will respect your boundaries and will turn around with you if needed.
Ski touring during COVID-19
It is expected that many people will turn to ski touring this year to avoid crowds and newly implemented restrictions at the resorts. We want you to be able to get out this winter, and we also want to encourage safe protocols to keep everybody safe. Bring a mask to be able to safely pass others on the skin track should you need to, maintain social distancing on the mountain and in the parking lots, and only travel with those in your immediate household.
Furthermore, this season might be a great time to really do some research, take some time to learn more about ski touring, avalanches, and acquire gear. Hospital beds are few and far between and no matter your skill level, it’s worth considering your usual risk threshold this winter to ensure our medical system can support our communities during this difficult time.
This guide was produced with support from Atomic, but the author’s opinions and advice are all her own. Explore more of Atomic’s touring gear at atomic.com.

Be the first to comment